
Paver Patio Cleaning: Getting the Colour Back Without Losing the Joint Sand
A paver patio is one of the most satisfying things to clean, the grime lifts like a filter being peeled off and the original colour comes flooding back. It is also one of the easiest to damage. Blast pavers carelessly and you strip the sand out of every joint, which is how patios end up wobbly, weedy and worse off than before.
Here is how to get the dramatic colour-restoring result without wrecking what holds the patio together.
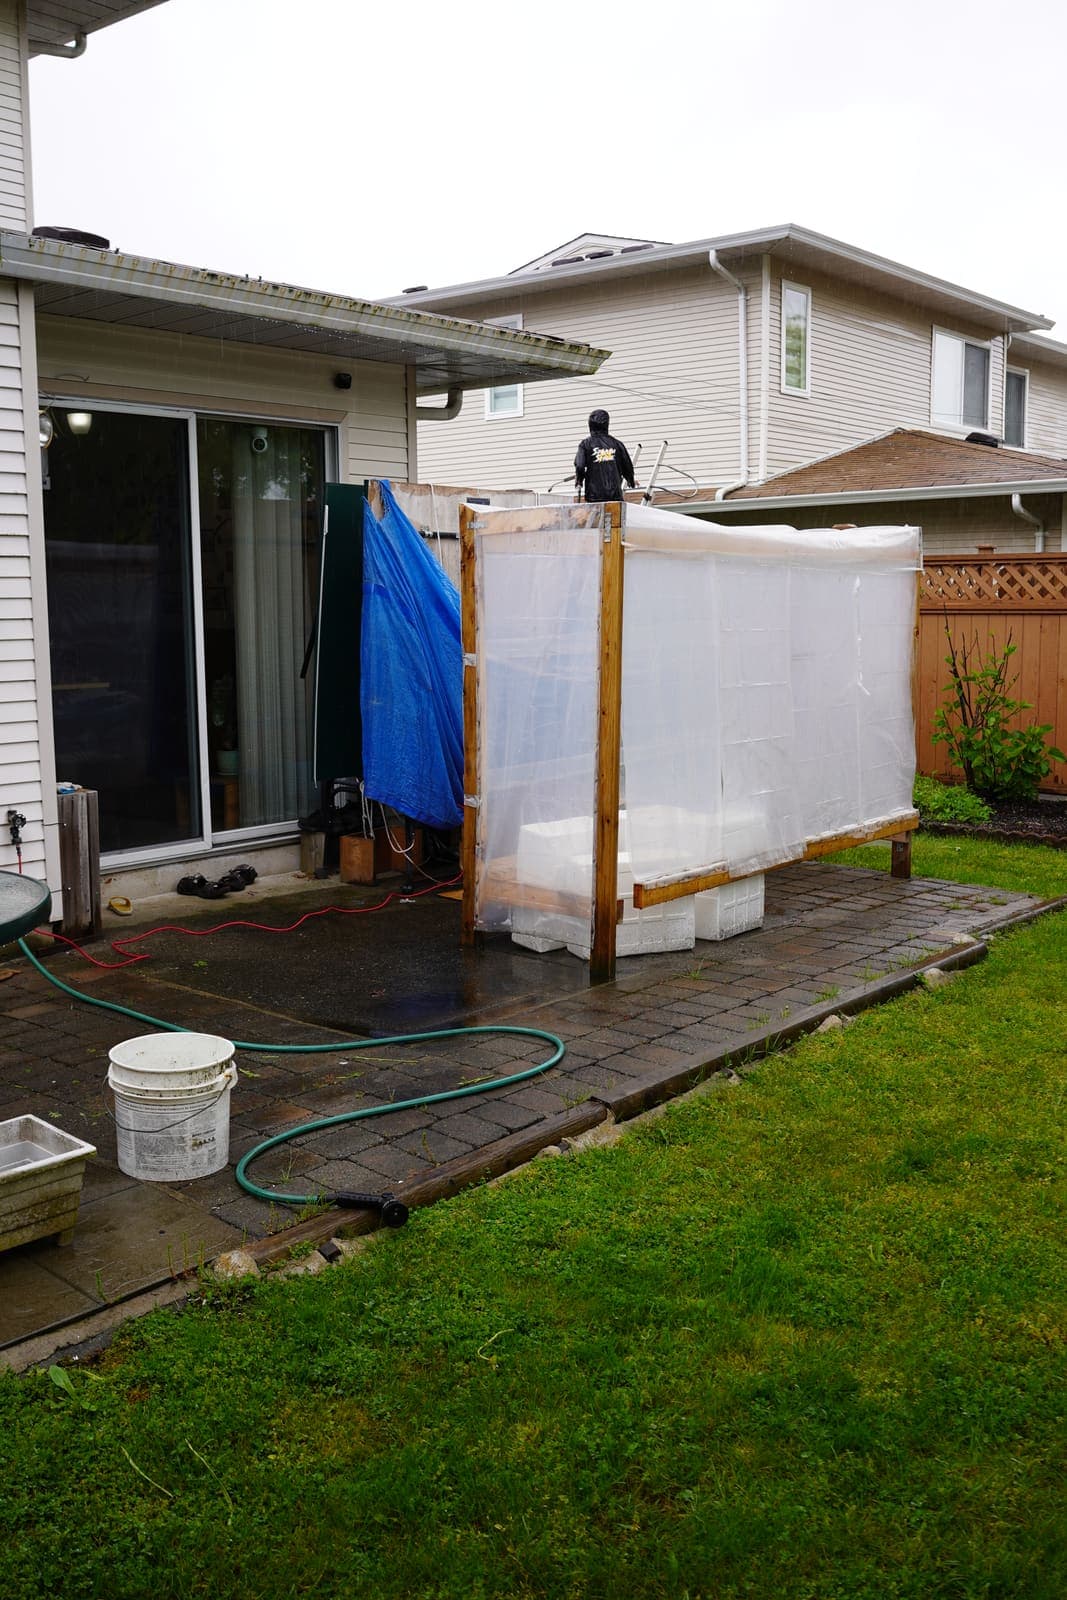
The joint sand is the whole system
Pavers are not glued down, they lock together through the sand packed into the joints between them. That sand is what keeps pavers from shifting, spreading and rocking underfoot. A pressure washer aimed straight into the joints at close range strips it out in seconds, and a patio missing its joint sand loosens and invites weeds and ants into every gap.
So the goal on pavers is a clean, even surface with the joints left as intact as possible, which is a matter of angle, distance and technique, not just power.
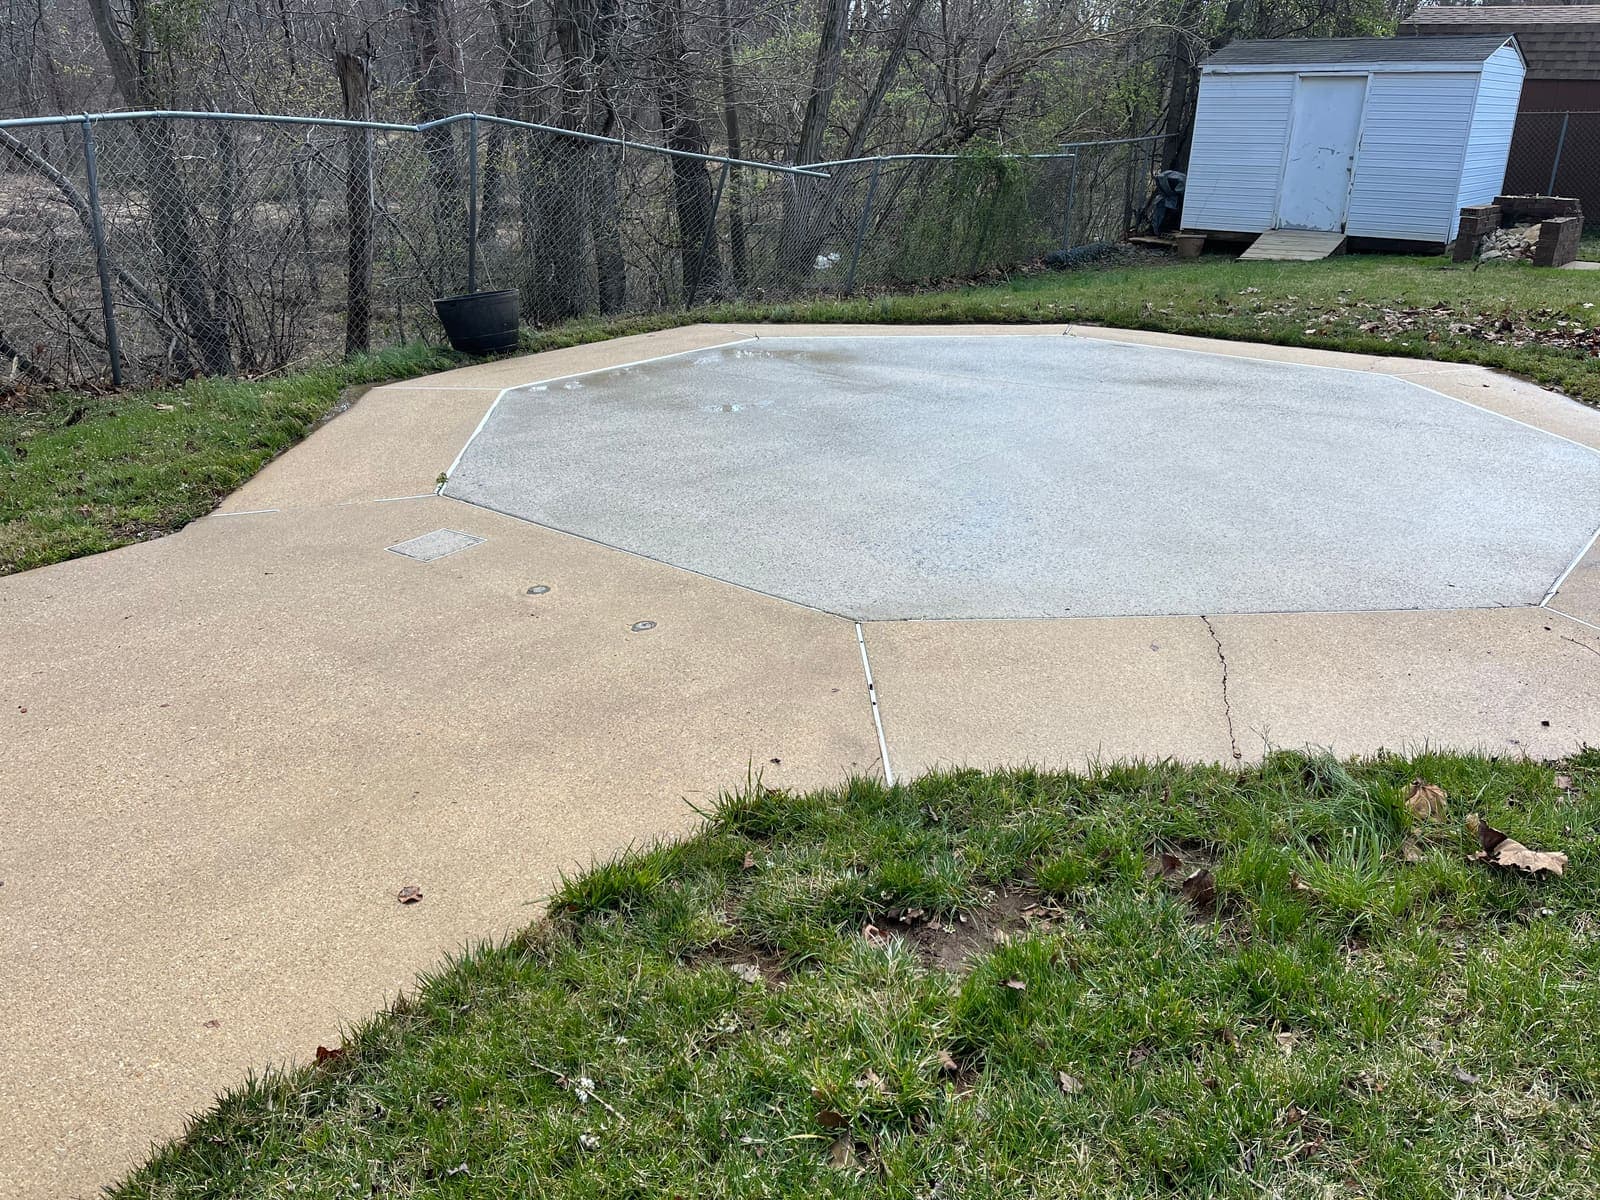
Treat the growth, wash at the right angle
As with any hard surface here, moss and algae in the joints are treated first so they die at the root rather than regrowing in a month. The wash then uses a controlled angle and distance that cleans the paver faces and lifts grime from the joints without excavating the sand out of them.
Weeds and the moss between pavers are the real enemy, pull and treat them, not just knock off the green tops, or they are back by the next wet spell. The difference between a patio that stays clean and one that greens up again is whether the growth was killed or merely displaced.
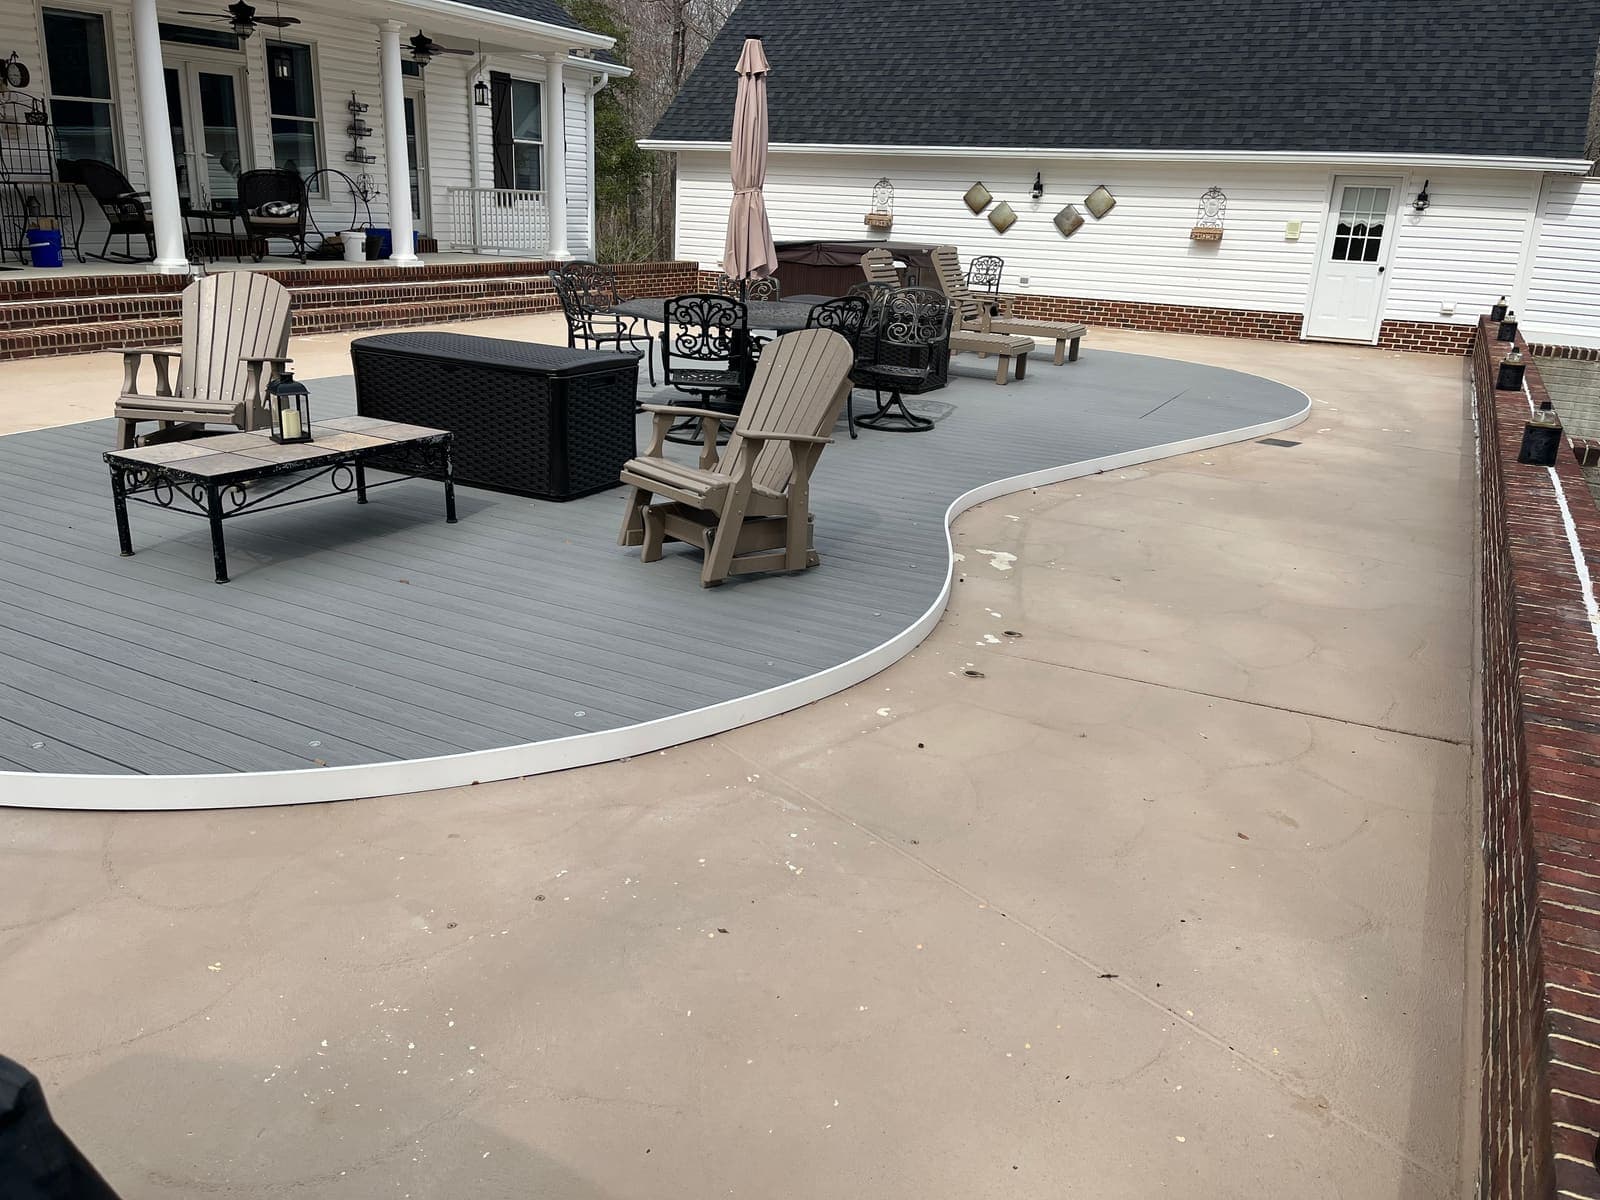
Re-sand and consider sealing
Some joint-sand loss is unavoidable on a thorough clean, so the finishing step is re-sanding the joints once everything has dried. Polymeric sand is the usual choice, it firms up when wetted, locks the pavers, and resists weeds and washout far better than plain sand.
A paver sealer applied after cleaning and re-sanding deepens the colour, stabilizes the joints further, and makes the next clean easier. It is optional, but on a patio you want looking sharp it pays off. Because paver condition varies, the honest price comes from a couple of photos and a free quote.